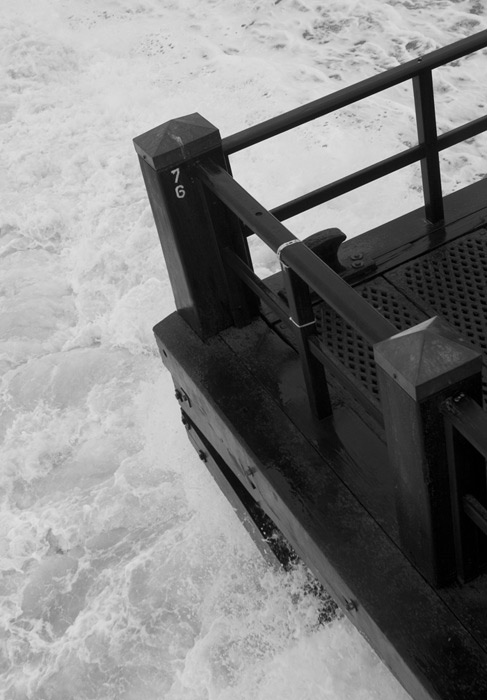
I used this technique to produce this image:

This technique is particularly elegant because it allows you to apply any of the entire spectrum of color filters just by dragging the hue slider. This allows one to quickly assess which of the many combinations of color filters work best, without necessarily having one in mind when starting. It takes a little longer to setup than the channel mixer, but is actually faster to use once in place.
Open the image in Photoshop and create two separate “Hue/Saturation Adjustment Layers” by following the menus: Layers > New Adjustment Layer > Hue/Saturation…
Each window will be named “Hue/Saturation 1 or 2,” however I have given these custom names for this tutorial.
On the top adjustment layer (Saturation), set the blending mode to “Color” and set the saturation to its minimum of “-100,” shown below.
On the bottom adjustment layer, change the “Hue” slider to apply any of the entire spectrum of color filters. This is the main control for adjusting the look from this technique.
The saturation slider can also be adjusted in this layer, but this time it fine-tunes the magnitude of the filter effect for a given hue.
Once all adjustments have been made, merge/flatten the layers to make these final.
An alternative technique which may be a bit easier is to only add one Hue/Saturation adjustment layer and change the hue of the image itself. On the other hand, this does not allow one to go back and change the color filter hue if it is no longer in Photoshop’s undo history (at least not without unnecessarily destroying bit depth).
Leave a Reply